管理流#
本文档将引导你如何在 Azure AI 上使用 CLI 和 SDK 管理你的流。本指南中的流示例来自 examples/flows/standard。
概述
对于
CLI,你可以在终端中运行pfazure flow --help查看帮助消息。对于
SDK,你可以参考 Promptflow Python 库参考 并查看promptflow.azure.PFClient.flows了解更多流操作。
先决条件
请参阅 快速入门 中的先决条件。
在命令行中使用
az login命令登录。这将使 promptflow 能够访问你的凭据。
让我们来看看以下主题
创建流#
要设置目标工作区,你可以在 CLI 命令中指定它,或者在 Azure CLI 中设置默认值。你可以参考 快速入门 了解更多信息。
要将流从本地流目录创建到 Azure,你可以使用
# create the flow
pfazure flow create --flow <path-to-flow-folder>
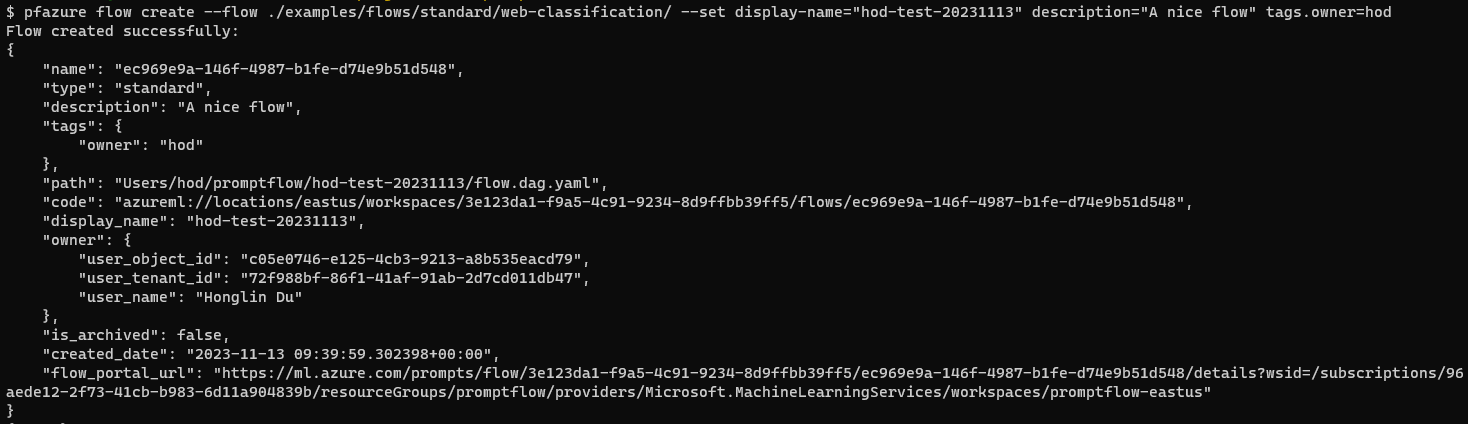
# create the flow with metadata
pfazure flow create --flow <path-to-flow-folder> --set display_name=<display-name> description=<description> tags.key1=value1
成功创建流后,你可以在命令行中看到流摘要。
导入所需的库
from azure.identity import DefaultAzureCredential, InteractiveBrowserCredential
# azure version promptflow apis
from promptflow.azure import PFClient
获取凭据
try:
    credential = DefaultAzureCredential()
    # Check if given credential can get token successfully.
    credential.get_token("https://management.azure.com/.default")
except Exception as ex:
    # Fall back to InteractiveBrowserCredential in case DefaultAzureCredential not work
    credential = InteractiveBrowserCredential()
获取工作区句柄
# Get a handle to workspace
pf = PFClient(
    credential=credential,
    subscription_id="<SUBSCRIPTION_ID>",  # this will look like xxxxxxxx-xxxx-xxxx-xxxx-xxxxxxxxxxxx
    resource_group_name="<RESOURCE_GROUP>",
    workspace_name="<AML_WORKSPACE_NAME>",
)
创建流
# specify flow path
flow = "./web-classification"

# create flow to Azure
flow = pf.flows.create_or_update(
    flow=flow,  # path to the flow folder
    display_name="my-web-classification",  # it will be "web-classification-{timestamp}" if not specified
    type="standard",  # it will be "standard" if not specified
)
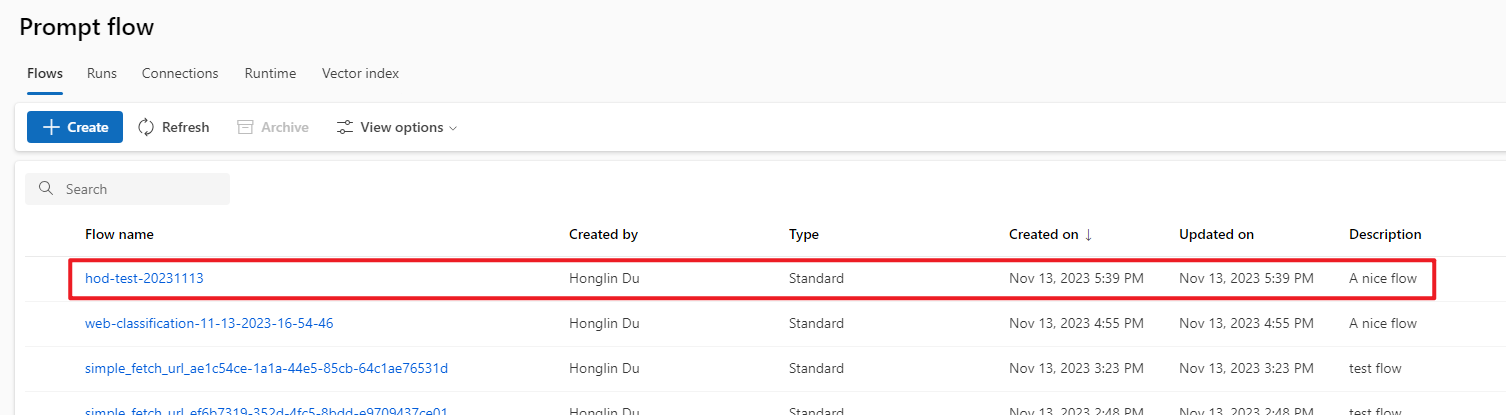
在 Azure 门户上,你可以在流列表中看到已创建的流。
文件共享上的流源文件夹是 Users/<alias>/promptflow/<flow-display-name>
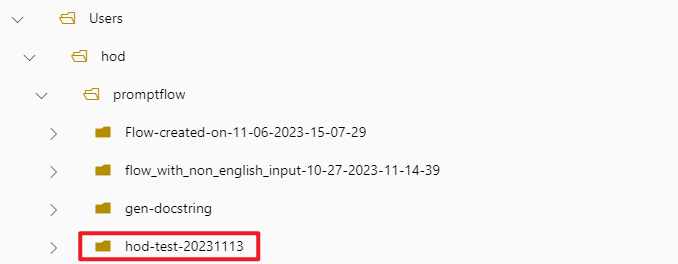
请注意,如果未指定流显示名称,则它将默认为流文件夹名称 + 时间戳。(例如 web-classification-11-13-2023-14-19-10)
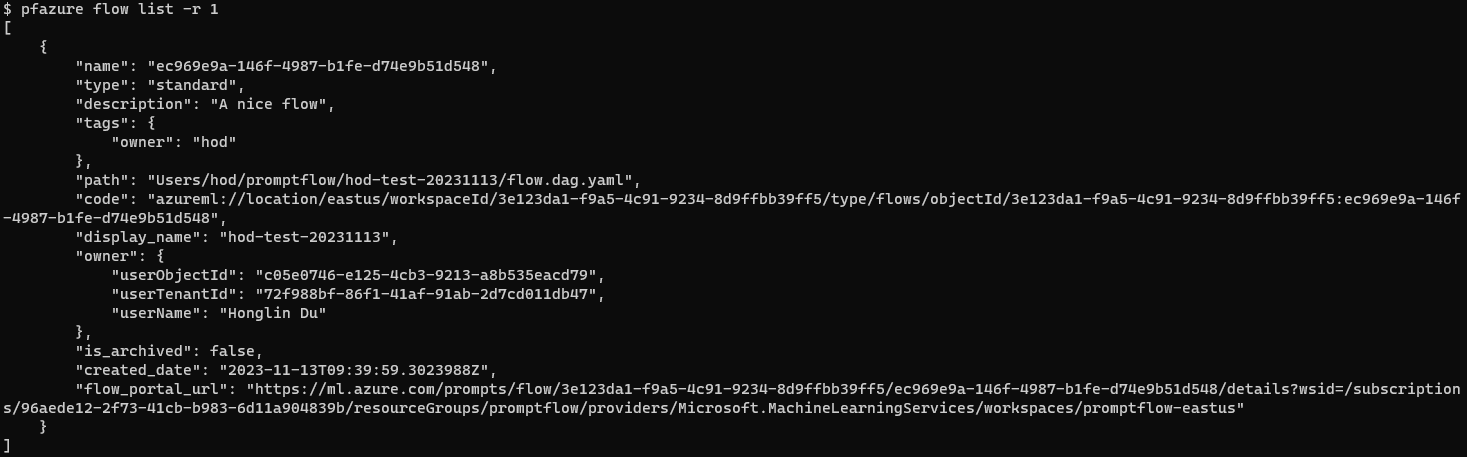
列出流#
以默认 json 格式列出流
pfazure flow list --max-results 1
# reuse the pf client created in "create a flow" section
flows = pf.flows.list(max_results=1)